



Last Updated: August 13, 2026
What You'll Need: Tools for Door Reinforcement
Installing a door reinforcement kit requires basic hand tools: measuring tape, drill with bits, screwdriver (Phillips and flathead), level, and pencil. Most homeowners complete installation without specialty equipment. Door Armor's patented design is built for DIY installation, no contractor needed. The kit includes all mounting hardware, reinforcement plates, and fasteners required.
Check your door thickness before starting. Standard residential entry doors measure 1.75 inches thick. Verify compatibility with your specific kit, as some systems work on doors up to 2 inches thick while others fit only standard dimensions. A power drill speeds up the process significantly, though a manual screwdriver works if necessary. Have safety glasses on hand, especially when drilling through metal components.
| Tool | Purpose | Essential |
|---|---|---|
| Measuring tape | Verify door thickness and jamb dimensions | Yes |
| Drill with bits | Create pilot holes for screws | Yes |
| Screwdrivers (Phillips/flathead) | Drive mounting screws | Yes |
| Level | Ensure strike plate alignment | Yes |
| Pencil | Mark drilling points | Yes |
| Safety glasses | Eye protection during drilling | Recommended |
| Work gloves | Hand protection | Recommended |
Pro Tip Keep your drill speed moderate when working with galvanized steel. High-speed drilling can cause the bit to slip or damage the protective coating. Use slow, steady pressure instead.
Measuring Your Door and Frame
Accurate measurements prevent installation mistakes. Start by measuring the door's thickness from outer edge to inner surface. Standard residential doors are 1.75 inches, but older homes sometimes have thicker doors. Write this down, it determines which fasteners fit your door.
Next, measure the height of your deadbolt from the floor. Most residential deadbolts sit 36-40 inches high. Your strike plate reinforcement must align perfectly with the bolt's path. If misaligned, the bolt won't engage smoothly, defeating the security purpose.
Examine your door jamb carefully. The jamb is the vertical frame piece where the strike plate mounts. Look for existing damage, rot, or soft wood. Poor jamb condition affects how securely your reinforcement kit holds. Check for gaps between the door and frame, tight tolerances mean better security.
Measure the backset distance on your lock. Backset is the distance from the door's edge to the center of the deadbolt hole. Standard backsets are 2.375 inches or 2.75 inches. Your kit's template should match this measurement.
Document all measurements on paper before beginning. Take photos of your door and jamb condition. This creates a reference point if problems arise and helps Door Armor's team provide specific guidance if needed.
Watch Out Measure twice, drill once. A single misaligned pilot hole forces you to fill it, re-measure, and start over. The extra five minutes of careful measurement saves significant frustration later.
Removing Existing Hardware
Before installing your reinforcement kit, remove the existing strike plate by unscrewing the mounting bolts. Most standard strike plates use two to four screws. Keep these screws in case you need them later.
Inspect the holes left behind. If damaged or enlarged, fill them with wood filler for small gaps or wooden dowels and epoxy for larger damage. Sand flush once dry to create a solid foundation for new fasteners.
Check the hinge condition on the door. Hinges are common weak points for forced entry. If they show visible damage or rust, consider replacing them or adding hinge shields that wrap around existing hinges for anti-prying protection.
Remove any protective film or packaging from your reinforcement kit components. Lay out all pieces and verify everything is present. Check that screws, brackets, and reinforcement plates match your door's specifications.
Clean the jamb surface where the new strike plate will mount. Dust and debris prevent tight fastening. Use a damp cloth to wipe the area, then let it dry completely.
Installing the Door Security Strike Plate
The strike plate is your reinforcement kit's critical component. This is where the deadbolt engages when you lock the door. A reinforced strike plate resists kick-in attempts by distributing force across a larger surface area and deeper into the door frame.
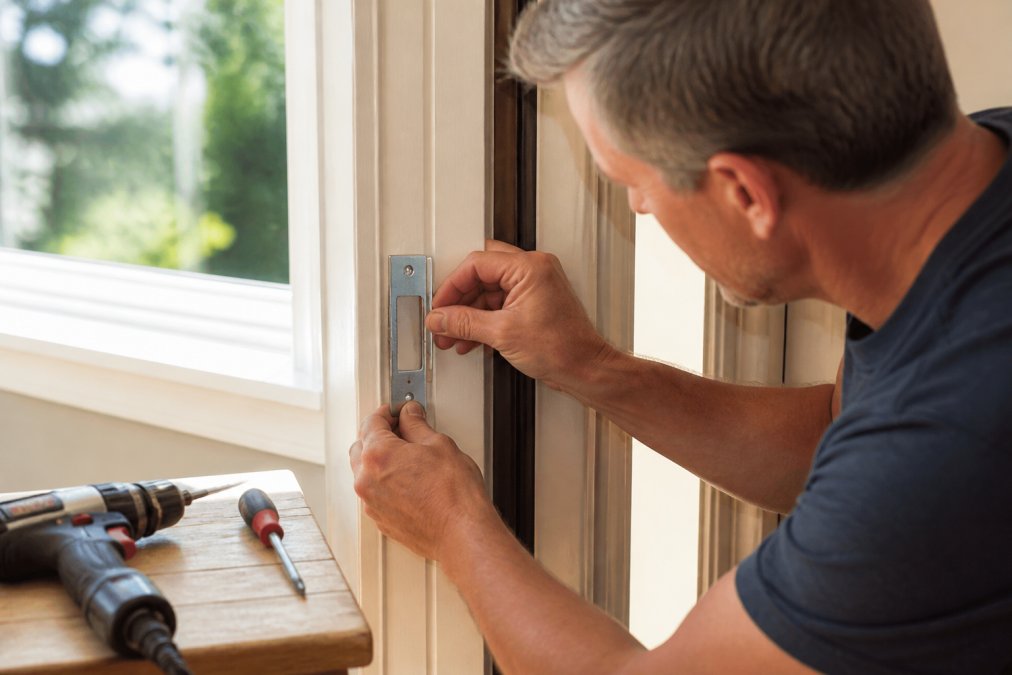
Close-up of hands positioning a galvanized steel strike plate against a wooden door jamb, with a drill and screwdriver visible on a nearby workbench, natural sunlight from a window illuminating the installation
Positioning the Reinforcement Plate
Align the new strike plate with your deadbolt. The bolt hole in the reinforcement plate must line up exactly with your deadbolt's path. Use your template or the kit's alignment guide. Hold the plate in position and verify alignment by turning your key, the bolt should pass smoothly through the hole without binding.
Check the plate's vertical position carefully using a level. The reinforcement plate must be perfectly perpendicular to the door jamb. Examine how the plate extends into the jamb. Door Armor's design uses extended flanges that penetrate deeper into the frame than standard strike plates. Ensure the plate sits flush against the jamb surface with no gaps.
Drilling Pilot Holes and Securing Mounting Screws
Mark the screw holes using the template provided with your kit. Most reinforcement plates use three to five mounting points. Double-check your marks against the template before drilling.
Drill pilot holes at each marked location using a bit slightly smaller than your mounting screws. Pilot holes prevent wood splitting and ensure screws seat properly. Drill straight into the jamb, perpendicular to the surface.
Insert mounting screws into pilot holes. Door Armor kits use heavy-duty stainless steel screws designed for security applications. Drive screws firmly but don't overtighten, excessive force can strip the wood or crack the jamb. Check each screw's tightness once all are installed.
Inspect the strike plate's position one final time. It should sit flush against the jamb with no visible gaps and feel immobile when you push on it.
Key Takeaway The strike plate installation determines your entire system's effectiveness. Spend time getting this right. A loose or misaligned strike plate undermines every other component of your security upgrade.
Testing Deadbolt Alignment and Door Function
After installation, test your deadbolt's operation thoroughly. Lock and unlock the door multiple times from both sides. The bolt should extend and retract smoothly without resistance.
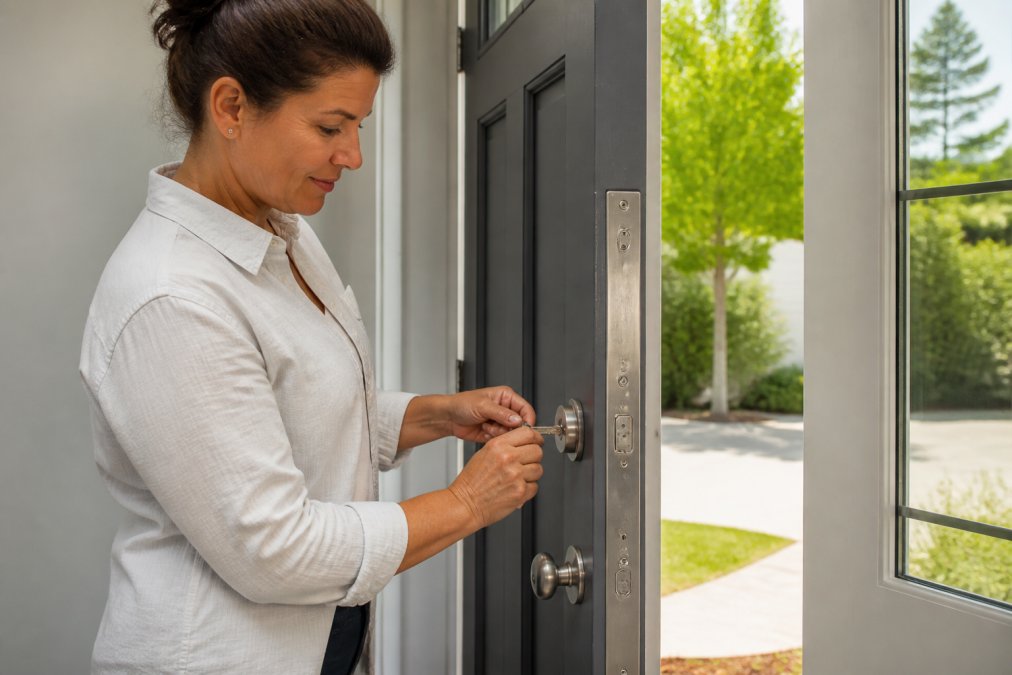
Homeowner testing a deadbolt by turning the key and checking alignment with the newly installed reinforcement hardware on an entry door, with natural light from outside illuminating the lock mechanism
Open and close the door several times to verify smooth operation. The door should close easily without binding against the frame or strike plate. Test the bolt's engagement in the strike plate, it should seat fully with no gaps. Verify the door closes completely when locked. Check for any rattling or movement in the reinforcement hardware by pushing firmly on the door at various points. Everything should feel solid and immobile.
Test your key operation in different conditions. Turn the key multiple times to ensure consistent, smooth engagement. Rough or sticking operation suggests the bolt isn't aligning properly with the reinforcement plate.
Door Reinforcement Kit Installation Time and Common Mistakes
Most homeowners complete installation in 30 minutes or less. Budget an extra 15-30 minutes if your door requires prep work like addressing damaged jambs or non-standard door thicknesses.
The most common mistake is rushing through measurements. Proper installation requires measuring twice and verifying alignment before drilling any holes. Drilling pilot holes at incorrect angles causes fasteners to sit crooked and weakens the connection. Pilot holes must be perpendicular to the jamb surface.
Over-tightening mounting screws strips wood fibers and damages the jamb. Screws should be snug but not forced. Failing to clean the jamb surface before installation prevents tight seating and allows the plate to shift. Ignoring door thickness compatibility means fasteners won't seat properly or may protrude dangerously.
Watch Out The most expensive mistake is installing the reinforcement plate upside down or backwards. Some designs have directional components. Check your kit's orientation guide before drilling.
Door Material Compatibility and Security Standards
Solid wood doors are ideal for reinforcement kit installation. Wood accepts fasteners securely and won't corrode. Hollow-core doors lack structural integrity to support reinforcement hardware, upgrade to solid wood or metal before installing reinforcement.
Metal doors and frames accept reinforcement kits well. Stainless steel fasteners won't corrode against metal surfaces. However, metal installation requires slower drill speeds and metal-cutting bits rather than wood bits. Fiberglass doors work with reinforcement kits, though installation differs slightly. Drill slowly to prevent cracking and use fasteners rated for fiberglass.
Security standards for residential doors are governed by building codes and industry specifications. The American National Standards Institute (ANSI) establishes standards for door hardware and security. ANSI standards for residential door security specify requirements for strike plate strength, fastener length, and installation methods. Door Armor's systems are engineered to exceed these standards.
Police-tested reinforcement systems demonstrate real-world effectiveness against forced entry. National Institute of Justice research on forced entry prevention documents how reinforced strike plates increase resistance to kick-in attempts.
Consider your door's age and condition. Older doors with deteriorated jambs may not support reinforcement hardware effectively. If jamb wood is soft, rotted, or damaged, address those issues first before installing your security hardware.
Post-Installation Aesthetic Repair and Maintenance
After installation, your door should look normal and well-maintained. Ensure all screws are fully seated and aligned. Small gaps between the reinforcement plate and jamb can be filled with paintable caulk matching your door frame's color.
Paint or stain the reinforcement plate if it doesn't match your existing hardware finish. Most galvanized steel plates come in brushed nickel or satin finishes. Specialty finishes are available to match most hardware styles.
Inspect your installation monthly. Check that all fasteners remain tight. Seasonal temperature changes can cause slight wood movement, loosening fasteners. Clean your reinforcement hardware periodically with a soft, dry cloth. Avoid harsh cleaners that damage finishes.
Check your door's operation seasonally. Changes in humidity affect wood expansion and contraction. If binding occurs, the reinforcement plate may need minor adjustment.
Pro Tip Keep documentation of your installation. Save photos, measurements, and the receipt for your Door Armor kit. If you ever need to make adjustments or claims under the $500 Lifetime Guarantee against kick-ins, this documentation proves proper installation and supports your claim.
Installing a door reinforcement kit transforms your entry door's security in 30 minutes. The process is straightforward when you follow these steps carefully: measure accurately, remove old hardware, position the reinforcement plate precisely, secure fasteners firmly, and test thoroughly. Door Armor's patented galvanized steel system handles these steps efficiently, giving you professional-grade security without contractor costs. Get started with Door Armor and gain the critical protection your family needs when it matters most.
Frequently Asked Questions
How long does it take to install a door reinforcement kit?
A door reinforcement kit installation takes 30 minutes or less for most homeowners. The process includes measuring, removing old hardware, positioning the reinforcement plate, drilling pilot holes, and securing mounting screws. Even if you take your time and double-check measurements, most installations complete well within an hour. No special skills or professional experience required.
What tools do I need to install a door security kit?
You'll need a measuring tape, power drill with bits, screwdriver (Phillips and flathead), and a level. Most homeowners already have these basic tools. Some kits include a template to simplify drilling. A stud finder helps locate the door jamb's strongest points. Having a helper to hold the plate steady makes the job easier, but it's not required. All tools are standard hardware store items.
Can I install a door reinforcement kit on a hollow core door?
Door reinforcement kits work best on solid core or metal doors that have sufficient structural integrity to anchor long screws. Hollow core doors lack the density to securely hold fasteners and won't provide the kick-in resistance that makes reinforcement effective. If your door is hollow, consider upgrading to a solid entry door first, or focus reinforcement on doors with solid frames and jambs. Check your door's thickness and material before purchasing a kit.
Do I need a professional to install a door reinforcement kit?
No. Door reinforcement kits are designed for DIY installation and require only basic hand tools and drilling skills. The process is straightforward: measure, position, drill, and screw. Many homeowners complete installation in their first attempt without calling a professional. If you're uncomfortable using a power drill, you can hire a handyperson for an hour, which typically costs less than professional installation of other home security systems. Support is available if you have questions during setup.